
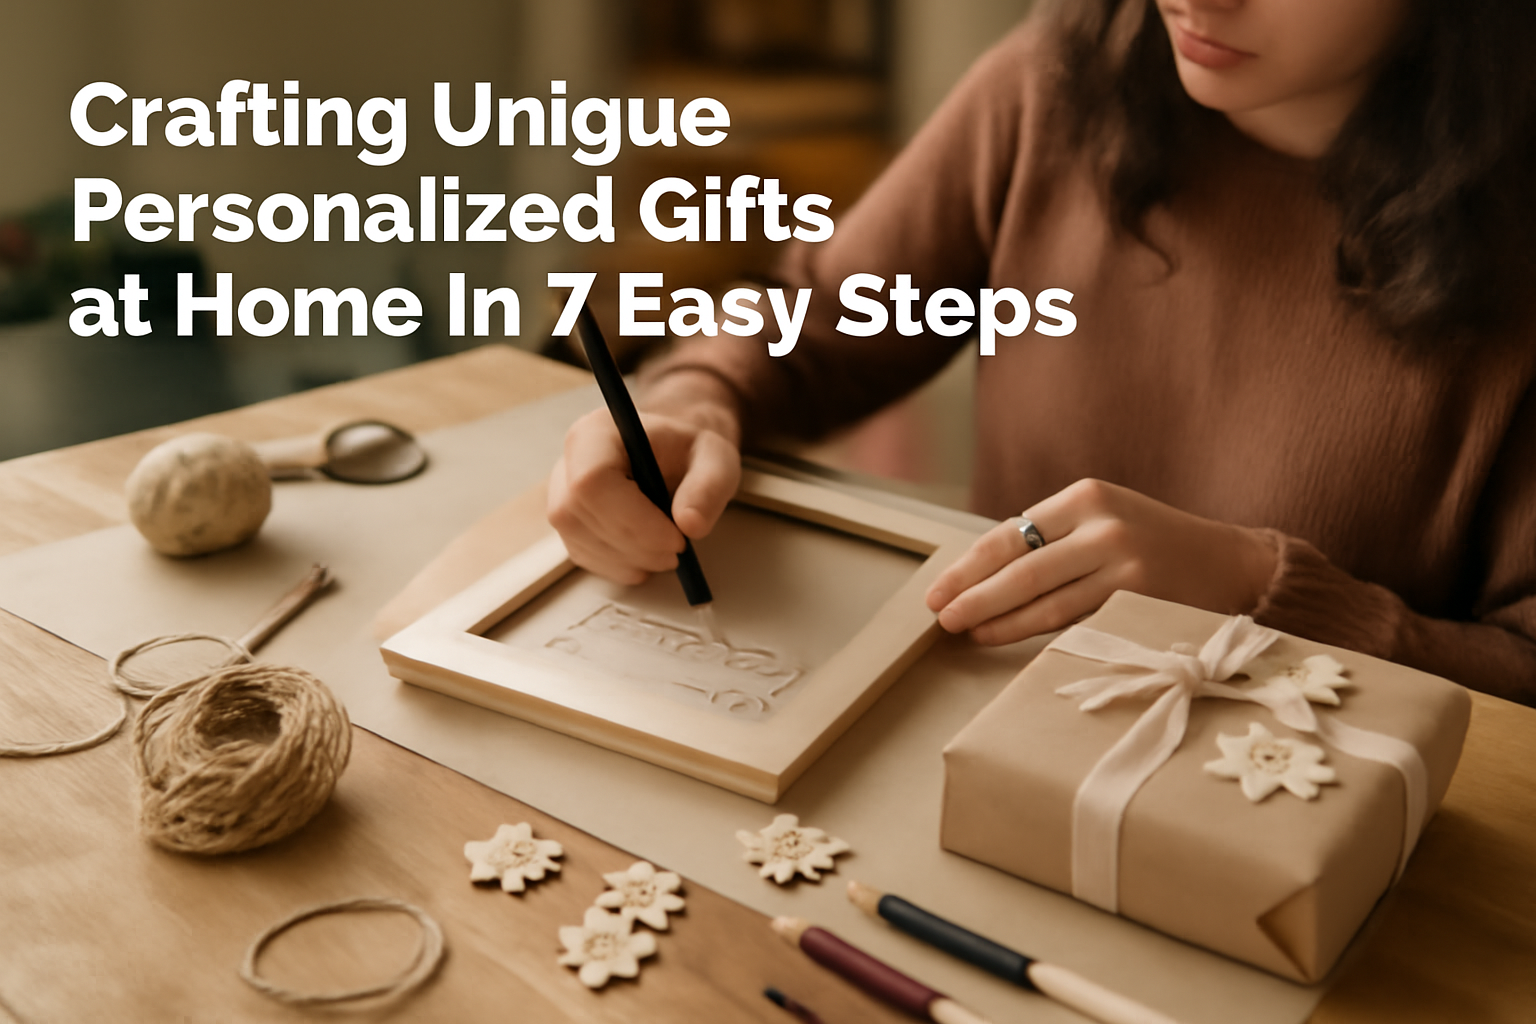
Looking to add a personal touch to your gift-giving? Making personalized gifts at home is a fun and rewarding way to show your loved ones just how much you care. Whether it's for Mother's Day, a birthday, or just because, these heartfelt creations can become treasured keepsakes.
In this guide, we'll walk you through the steps to create unique and meaningful gifts that will leave a lasting impression. Get ready to unleash your creativity and make something special!
Table of Contents
Step 1: Gather Your Supplies
Before you dive into the world of crafting, you'll need to gather your materials. Depending on the type of personalized gift you wish to create, your supply list may vary. Here are some basics: The Ultimate Guide to Personalized Gifts: Making Every Occasion Special.
- Blank items (t-shirts, mugs, canvas, etc.)
- Paints, markers, or pens
- Transfer paper for printing designs
- Stickers or embellishments
- Adhesives (glue, tape)
Make sure to choose items that fit the occasion. For instance, if you're creating personalized gifts for Grandma, consider a heartfelt keepsake platter or a "Grandchildren names platter." crafting custom gifts.
Step 2: Choose a Design
Next up, you'll want to brainstorm design ideas. Think about what your recipient would love! Here are some suggestions:
- Quotes or sayings that hold significance
- Names or initials
- Images that represent shared memories
For inspiration, check out some online galleries or use design software to visualize your ideas. Remember, it's all about creating something meaningful, like a "Personalized Nanna's Garden" for a special grandmother.
Brainstorming Techniques
When brainstorming design ideas, consider using the following techniques to spark your creativity:
- Mind Mapping: Write the recipient's name in the center of a page and branch out with ideas related to their interests, hobbies, or favorite quotes.
- Inspiration Boards: Create a physical or digital board where you can pin images, colors, and designs that resonate with the theme you are considering.
- Collaborative Brainstorming: Involve friends or family members who know the recipient well. They may suggest ideas you hadn't thought of!
Design Elements to Consider
As you refine your design, keep in mind the following elements:
- Color Scheme: Choose colors that reflect the recipient's personality or match the decor of their home. For example, soft pastels for a calming effect or vibrant colors for a lively touch.
- Font Style: The font can convey a lot about the gift. A playful font may suit a child's gift, while an elegant script could be perfect for a wedding present.
- Layout: Think about how the elements will be arranged. A balanced layout will make your design look polished. Consider using grid layouts or asymmetrical designs for a modern touch.
Examples of Personalized Gift Designs
Here are some specific examples to get your creative juices flowing:
- Custom Family Portrait: Create a digital or hand-drawn illustration of the recipient's family, including pets, with their names incorporated into the design.
- Personalized Recipe Book: Design a book cover that features a beloved family recipe, adorned with the names of family members who contributed to the recipes.
- Memory Map: Design a map that highlights significant locations in the recipient's life, such as where they grew up, went to school, or met their partner.
Common Mistakes to Avoid
While designing your personalized gift, be mindful of these common pitfalls:
- Overcomplicating the Design: Keep it simple. Too many elements can make your design look cluttered. Aim for a clean and cohesive look.
- Ignoring the Recipient's Taste: Always consider the recipient's style and preferences. What you love might not resonate with them!
- Neglecting Quality: Ensure that any images or graphics used are high resolution to avoid pixelation when printed. Poor quality can diminish the impact of your thoughtful design.
By taking the time to thoughtfully choose a design that resonates with your recipient, you'll ensure your personalized gift is not only unique but also cherished for years to come. So get those creative juices flowing, and remember: the most meaningful gifts come from the heart!
Step 3: Create Your Template
Once you've settled on a design, it's time to create a template. You can either sketch it out by hand or use digital tools for more intricate designs. If you're using text, choose a font that reflects the recipient's personality.
Make sure to consider the size and placement on your blank item. A well-placed design can elevate a simple gift into something spectacular!
Choosing the Right Tools
Depending on your comfort level and the complexity of your design, you can opt for different tools:
- Hand Sketching: Grab some paper and pencils. This method is great for quick ideas and rough drafts. Use a ruler for straight lines and stencils for shapes.
- Graphic Design Software: Programs like Adobe Illustrator or Canva can help you create polished designs. These tools allow for easy resizing and manipulation of text and images.
- Online Template Generators: Websites like Placeit provide templates you can customize. This is perfect for beginners who want a professional look without the steep learning curve.
Designing Your Template
When designing your template, keep these practical steps in mind:
- Set Dimensions: Measure your blank item carefully. For example, if you're designing a mug, consider the printable area, which is usually around 7.5 inches wide and 3 inches tall.
- Use Grids: If you're working digitally, use grids to align your elements. This will help maintain balance in your design.
- Consider Color Schemes: Choose colors that complement each other and resonate with the recipient. Tools like Adobe Color can help you find harmonious palettes.
- Incorporate Personal Elements: Add names, dates, or personal messages. This will make your gift even more special.
Common Mistakes to Avoid
Even the most seasoned crafters can trip over a few design snafus. Here are some pitfalls to watch out for:
- Ignoring the Scale: A design that looks great on paper may not translate well to the actual item. Always print a test version at the same size as your final product.
- Overcomplicating the Design: Sometimes, less is more. A cluttered design can be overwhelming. Aim for simplicity and clarity.
- Forgetting About Texture: Remember that different materials have different textures. A design that works on paper might not look as good on fabric or wood.
Testing Your Template
Before you commit to your final product, it's wise to test your template:
- Print a Sample: If possible, print your design on a similar material to see how it looks and feels. This will help you identify any adjustments needed.
- Get Feedback: Show your design to a friend or family member who can provide honest feedback. They might catch things you overlooked.
- Make Adjustments: Based on your testing and feedback, refine your template. Don't be afraid to iterate until it feels just right!
Creating a template is a crucial step in making personalized gifts. By taking the time to design thoughtfully, you ensure that your final product is not only visually appealing but also deeply meaningful to the recipient. Remember, this is your chance to showcase your creativity and love through a personalized touch!
Step 4: Transfer Your Design
This is where the magic happens! Depending on your chosen method, you can transfer your design in several ways:
Using Paints or Markers
For a hands-on approach, use paints or fabric markers to directly apply your design. This works well for t-shirts and canvas items.
Using Transfer Paper
If you prefer a printed look, print your design onto transfer paper, then use an iron to transfer it onto your item. Be sure to follow the instructions for best results!
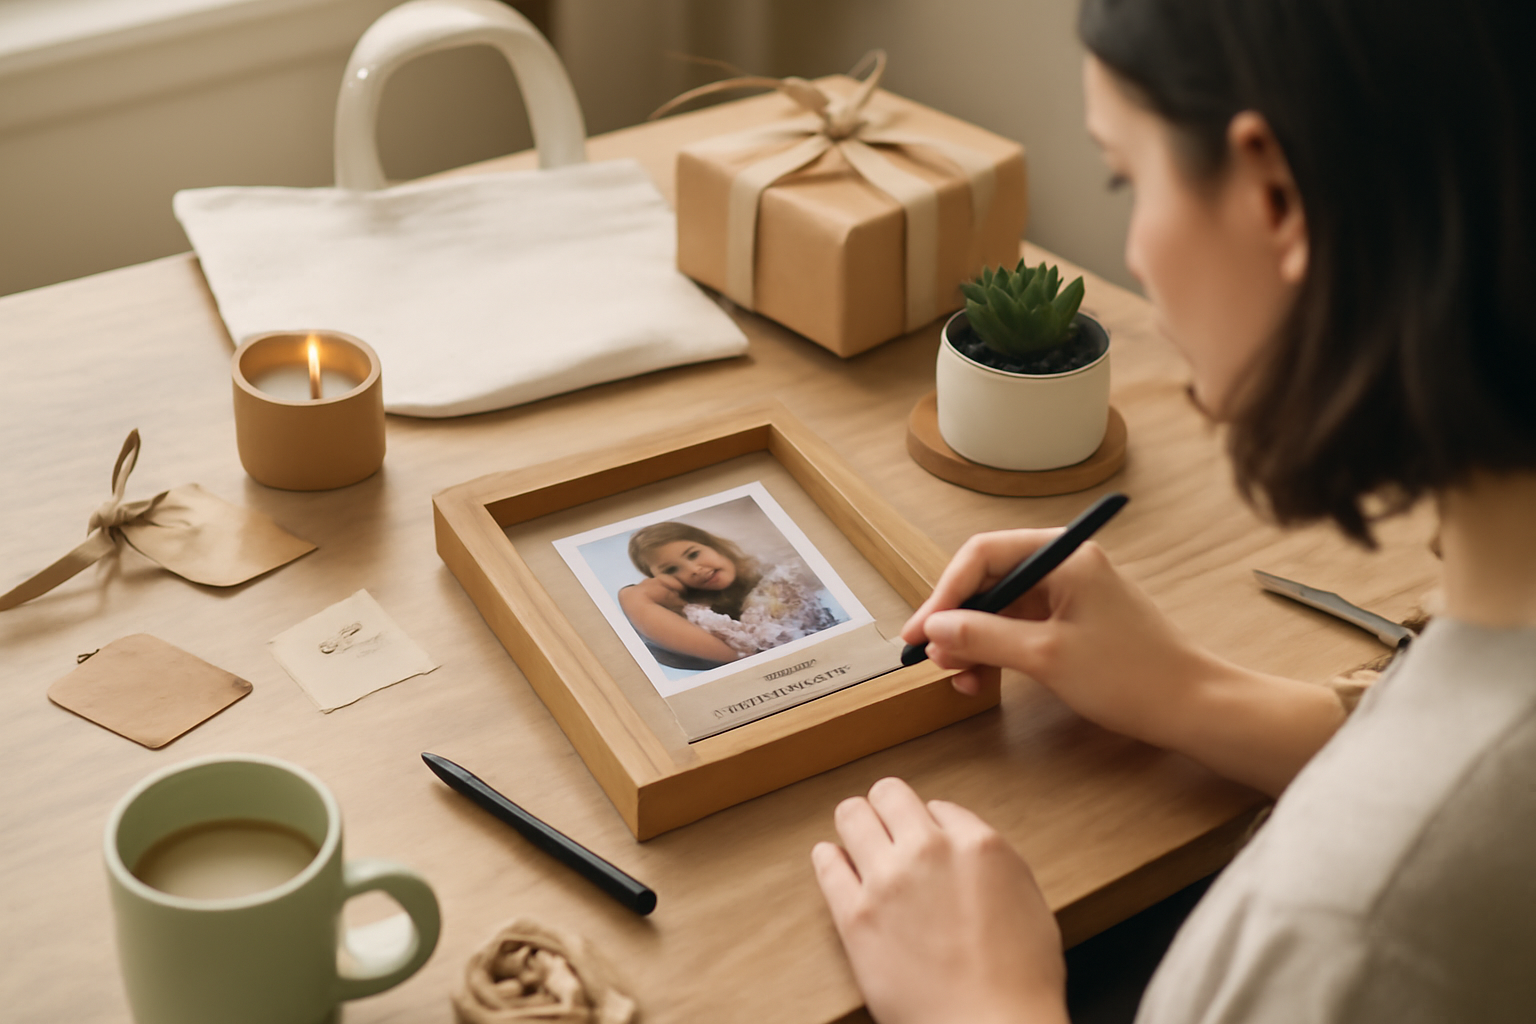
Step 5: Add Finishing Touches
Now that your design is on the item, it's time to add some flair! Consider these options to enhance your gift:
- Embellishments like ribbons, buttons, or sequins
- Frames for wall art or pictures
- Personal notes or tags for an extra touch
These little details can make all the difference, turning a simple gift into a cherished memory.
Embellishments
Embellishments can elevate your personalized gift from ordinary to extraordinary. Here are some popular options to consider:
- Ribbons: Choose colors that complement your design. A well-placed ribbon can add elegance, while playful patterns can bring a fun vibe. Consider tying a bow around a gift box or adding a ribbon to a wall art piece for a three-dimensional effect.
- Buttons: Vintage or colorful buttons can add a quirky touch. Sew or glue them onto clothing or bags, or use them to create a unique border around a photo frame.
- Sequins: For a bit of sparkle, consider adding sequins to t-shirts, bags, or even cards. They can be sewn or glued on, but be mindful of where you place them to ensure they enhance rather than overwhelm your design.
Frames for Wall Art or Pictures
Framing your artwork or photos can significantly enhance their presentation. Here's how to choose the right frame:
- Style: Consider the recipient's taste. A sleek, modern frame suits contemporary decor, while ornate frames complement classic styles. For a rustic feel, think about wooden frames.
- Size: Ensure the frame fits your artwork or photo perfectly. A well-fitted frame enhances the overall look, while an ill-fitting one can detract from it.
- Matting: Adding a mat can create a border that draws the eye to the artwork. Choose a color that complements your design without clashing.
Personal Notes or Tags
A personal note can add warmth and sentiment to your gift. Here are some ideas for incorporating notes or tags:
- Handwritten Notes: A simple, heartfelt message can make your gift even more special. Use decorative stationery or a nice card to convey your thoughts. Consider mentioning why you chose this gift or a cherished memory you share with the recipient.
- Gift Tags: Create custom tags that match your design. You can use cardstock or even fabric to write a short note. Attach it with twine or ribbon for a cohesive look.
- Quotes: If you're stuck on what to write, consider including a meaningful quote that resonates with your relationship. This adds depth and thoughtfulness to your gift.
Common Mistakes to Avoid
While adding finishing touches, keep these common pitfalls in mind:
- Overdoing It: Less is often more. Too many embellishments can make your gift look cluttered. Choose a few key elements that truly enhance your design.
- Ignoring the Recipient's Style: Always consider the recipient's taste. What you think is cute might not resonate with them. Tailor your finishing touches to their preferences.
- Forgetting Practicality: Ensure that any embellishments or frames are functional. For example, if you're adding sequins to a t-shirt, make sure they're securely attached and won't irritate the skin.
By thoughtfully adding these finishing touches, you can transform your personalized gift into something that truly stands out and is cherished for years to come. Remember, it's the little details that often leave the biggest impressions!
Step 6: Wrap It Up
Presentation is key! Take the time to wrap your personalized gift beautifully. Use colorful wrapping paper, gift bags, or even fabric wraps for a unique approach. Adding a heartfelt note can also enhance the personal touch.
Choosing the Right Wrapping Material
When it comes to wrapping your personalized gift, the material you choose can make a significant difference. Here are some popular options:
- Wrapping Paper: Opt for vibrant colors or patterns that match the recipient's personality. Consider themes that relate to the occasion-floral prints for birthdays, festive designs for holidays, or simple elegance for weddings.
- Gift Bags: These are a quick and easy option that can still look chic. Choose bags that are sturdy and have a fun design. You can also personalize them with stickers or tags.
- Fabric Wraps: For a sustainable and stylish choice, consider using fabric. Furoshiki, a Japanese wrapping cloth, can be a beautiful way to wrap gifts and can be reused by the recipient!
Techniques for Wrapping
Here are some practical techniques to ensure your gift looks its best:
- Measure and Cut: Always measure your gift before cutting the wrapping paper. Leave enough excess to fold over the edges neatly. A good rule of thumb is to have at least two inches of overlap on each side.
- Crease for Clean Lines: Use a bone folder or the edge of a credit card to create sharp creases. This will make your wrapping look professional and polished.
- Secure with Tape: Use double-sided tape for a clean finish, or traditional tape if you prefer. Make sure to secure all edges to prevent the gift from peeking out!
- Finishing Touches: Consider adding embellishments like ribbons, bows, or decorative tags. These small additions can elevate your gift from ordinary to extraordinary.
Adding a Heartfelt Note
A personalized note can add immense value to your gift. Here's how to craft the perfect message:
- Be Sincere: Write from the heart. Share a memory, express your feelings, or simply convey your best wishes. A genuine message can turn a simple gift into a cherished keepsake.
- Choose the Right Card: Select a card that complements the occasion. Whether it's whimsical, elegant, or funny, the card should reflect both your personality and that of the recipient.
- Keep It Short and Sweet: While you want to express your thoughts, remember that brevity is key. A few heartfelt sentences can often convey more than a lengthy letter.
Common Mistakes to Avoid
Even the most experienced gift wrappers can make mistakes. Here are some common pitfalls to avoid:
- Underestimating Material: Running out of wrapping paper or tape can lead to last-minute stress. Always buy a little extra to ensure you have enough.
- Neglecting the Presentation: Wrapping a gift in a hurry can lead to messy results. Take your time and focus on making it look appealing.
- Forgetting the Note: A gift without a note can feel impersonal. Always include a message to show you care.
Wrapping your personalized gift thoughtfully not only enhances its appearance but also shows the recipient that you put time and effort into their gift. So, take a moment to make it special, and enjoy the joy it brings when they unwrap it!
Step 7: Avoid Common Mistakes
As you embark on your crafting journey, keep in mind some common pitfalls to avoid:
- Rushing the design process - take your time to perfect it. It's easy to get excited and want to finish quickly, but remember that great things take time. Consider sketching out multiple designs and taking breaks to gain fresh perspectives.
- Ignoring the recipient's style - think about what they would appreciate. Consider their favorite colors, hobbies, and personal tastes. If you're unsure, consult with mutual friends or family members who know them well. A thoughtful approach will ensure your gift resonates with them.
- Using low-quality materials - these can affect the final product. Always opt for high-quality materials that not only look good but also feel good. This ensures durability and enhances the overall appearance of your gift. For example, if you're making clothing, choose fabric that is soft and comfortable, while for wall art, select sturdy canvas or high-quality paper.
Additional Tips to Avoid Mistakes
To further enhance your gift-making experience, consider the following tips:
- Plan Ahead: Create a timeline for your project. This will help you allocate enough time for each stage, from brainstorming to execution. A checklist can be beneficial here, outlining each step you need to complete.
- Seek Feedback: Don't hesitate to ask for opinions on your designs from friends or family. Constructive criticism can provide insights you might have overlooked and help refine your final product.
- Test Your Techniques: If you're trying a new method or tool, practice on scrap materials first. This way, you'll gain confidence and avoid mistakes on your actual gift.
- Be Mindful of Size: Ensure your personalized gift fits well within the intended space or context. For instance, if you're crafting wall art, measure the wall where it will hang to avoid creating something that's too large or too small.
- Document Your Process: Take notes or photos of your crafting journey. This can help you remember what worked well and what didn't for future projects, making your next personalized gift even better.
By avoiding these mistakes and implementing these additional tips, you'll create a gift that is not only beautiful but also deeply meaningful, making it a cherished keepsake for the recipient.
Conclusion
Now that you know how to create personalized gifts, it's time to put your newfound skills to the test! Think about the people in your life who would appreciate a customized present and start crafting. Remember, the effort you put into making these heartfelt keepsake platters or other gifts will be cherished for years to come.
To help you get started, here are some practical steps and tips to ensure your personalized gifts turn out beautifully:
Getting Started: A Quick Checklist
- Identify the Occasion: Is it a birthday, anniversary, or holiday?
- Know Your Recipient: What are their interests, hobbies, and preferences?
- Gather Your Materials: Ensure you have all the necessary supplies before you begin.
- Choose Your Design: Sketch out your ideas or use design software to visualize your gift.
- Plan Your Time: Set aside uninterrupted time to focus on your project.
Common Mistakes to Avoid
- Rushing the Process: Take your time to avoid mistakes that could ruin your project.
- Ignoring Quality: Use high-quality materials to ensure your gift lasts.
- Overcomplicating Designs: Sometimes, simpler designs can be more impactful.
- Forgetting Personal Touches: Don't skip the details that make the gift special, like a heartfelt message.
Examples of Personalized Gifts
Here are a few ideas to inspire your creativity:
- Custom Mugs: Personalize with a favorite quote or a funny inside joke.
- Photo Albums: Create a scrapbook filled with shared memories and personal notes.
- Engraved Jewelry: Add initials or a special date to make it unique.
- Hand-Painted Canvas: Design a piece of art that reflects the recipient's personality.
Final Thoughts
As you embark on your journey of creating personalized gifts, remember that the best gifts come from the heart. Each piece you create holds the potential to become a cherished memory for someone special. So, roll up your sleeves, unleash your creativity, and get crafting! The joy you bring to others through your thoughtful gifts will be the ultimate reward.


