
Finding the perfect gift for your mom can be a challenge, especially when you want to make it special and memorable. Personalized gifts add that extra touch, transforming a typical present into something truly extraordinary. Whether it's her birthday, Mother's Day, or just because, creating a unique gift can show her just how much you care.
In this guide, we'll walk you through the steps to create heartfelt personalized gifts for moms that she'll cherish forever. From brainstorming ideas to selecting the right materials, you'll have everything you need to make your gift stand out.
Table of Contents
Step 1: Brainstorm Ideas
The first step in creating a personalized gift is to brainstorm ideas that resonate with your mom's interests and personality. Consider what hobbies she enjoys, her favorite colors, or any special memories you share. Discover Unique Gift Ideas for Moms That She'll Absolutely Love.
Consider Her Interests
Is she a cooking enthusiast? Perhaps a custom apron or a personalized recipe book would be perfect. If she loves gardening, think about a customized plant pot or garden tools. Understanding her passions will help guide your gift selection.
Reflect on Shared Memories
Think about your favorite moments together. Maybe there was a family vacation that stands out or a special holiday tradition. Incorporating these memories into your gift can make it even more meaningful.
Step 2: Choose the Right Type of Gift
Once you have a list of ideas, it's time to narrow it down to a specific type of gift. Here are some popular categories for personalized gifts:
- Clothing: Custom t-shirts, hoodies, or pajamas with a special message or design.
- Kitchenware: Personalized mugs, cutting boards, or aprons featuring her name or a cherished quote.
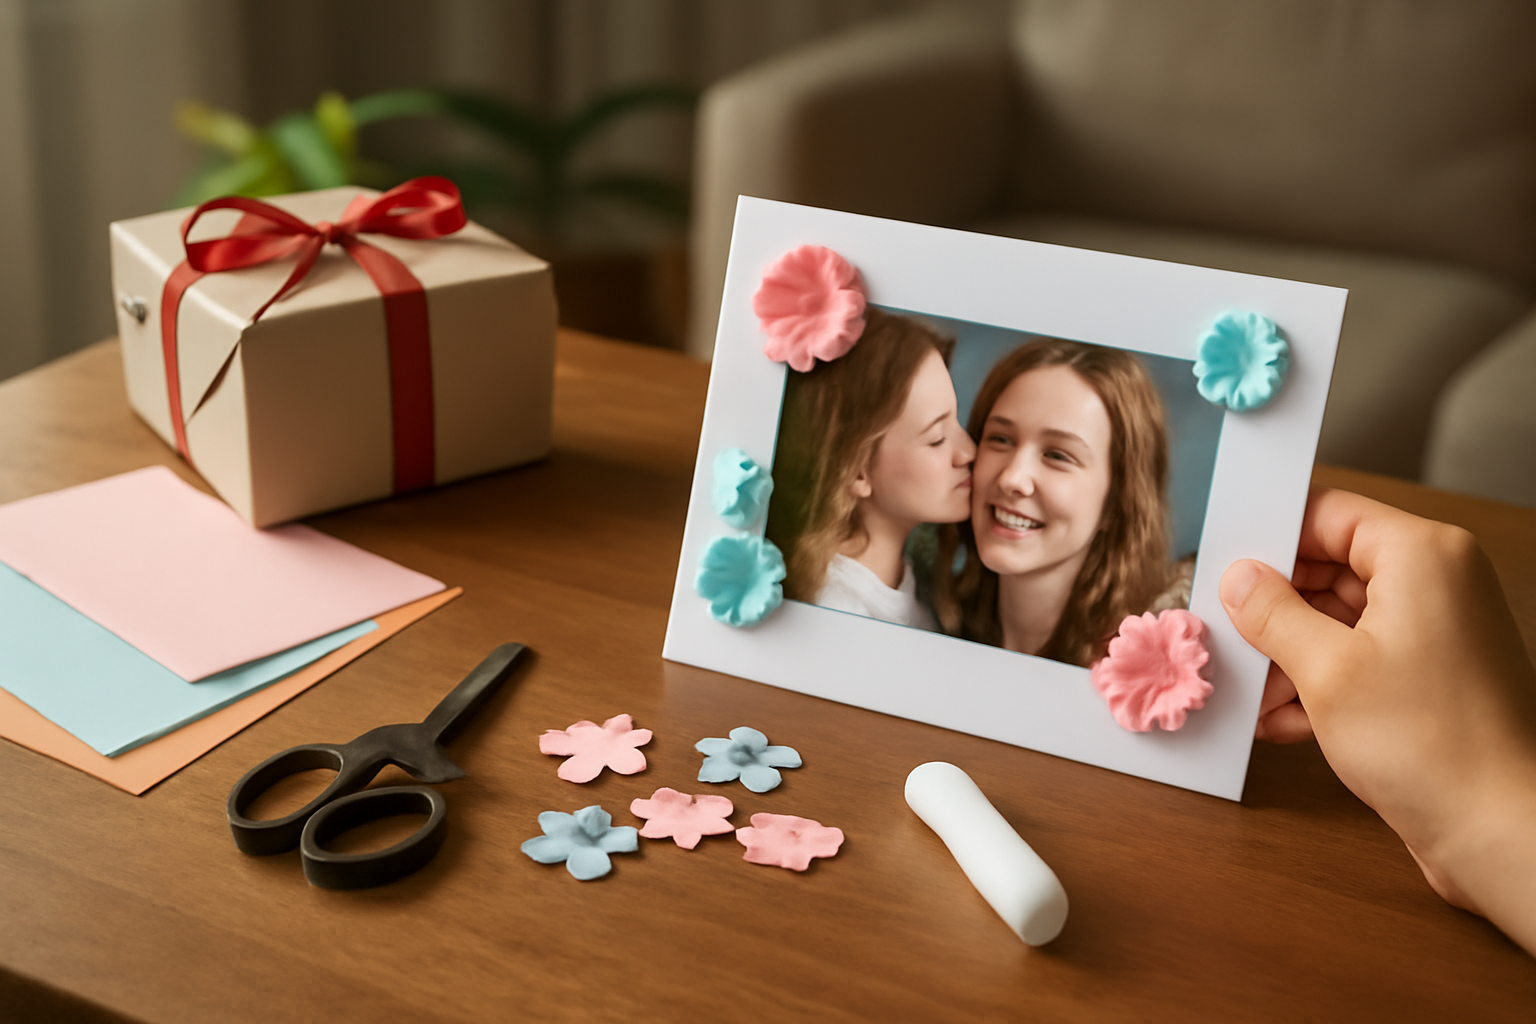
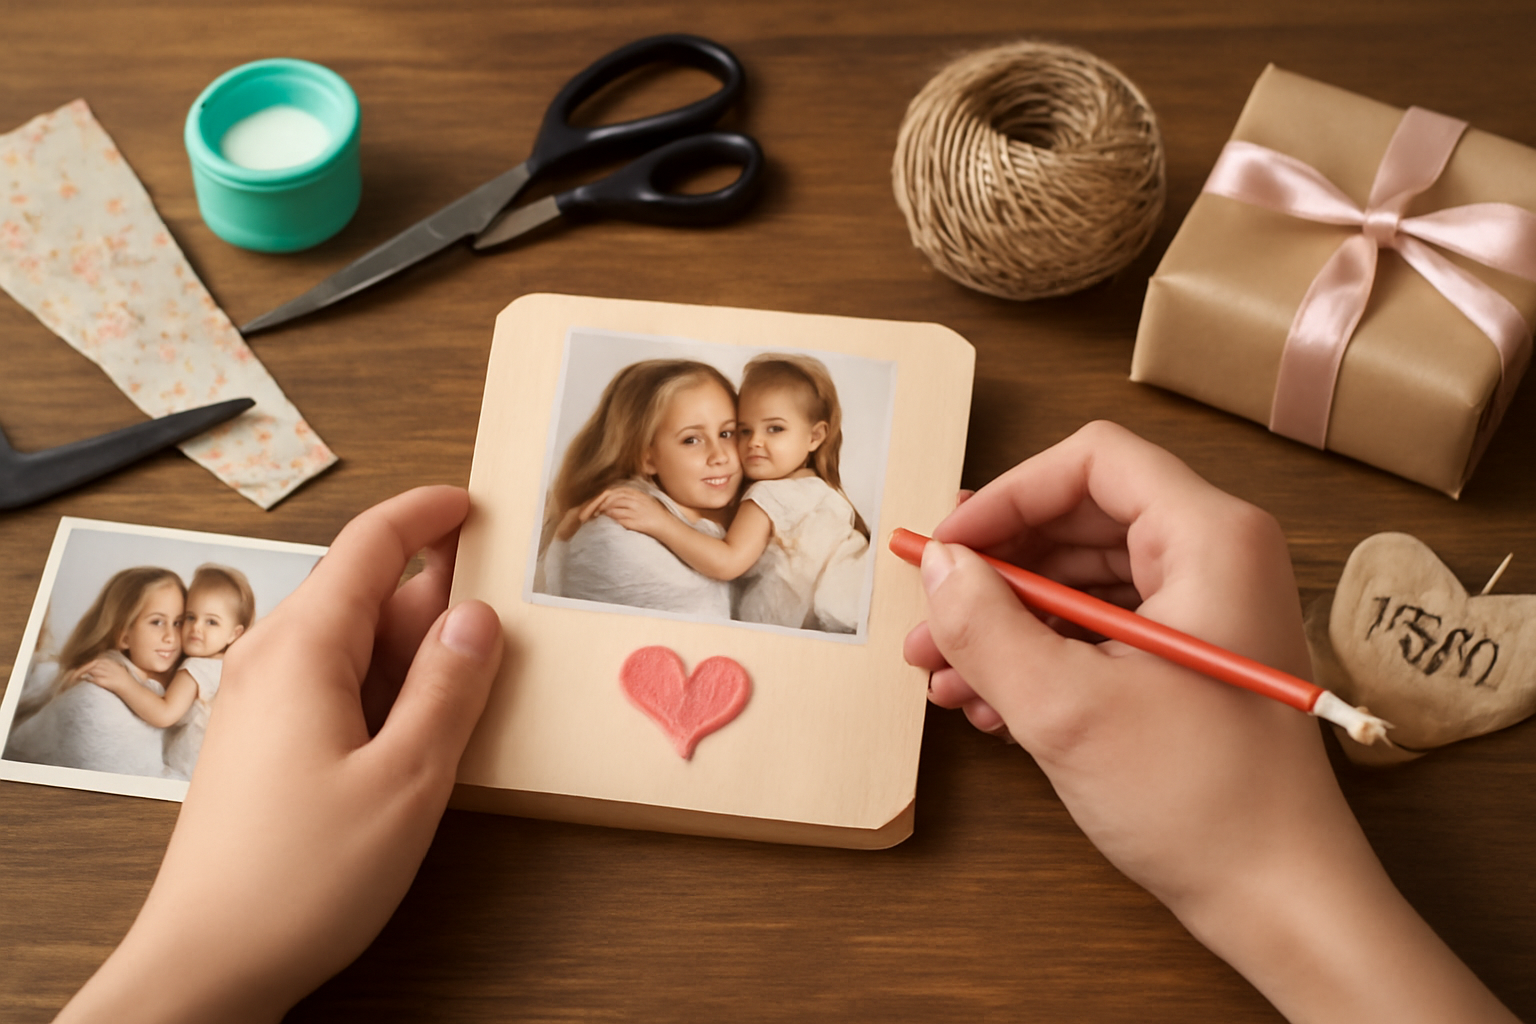
- Wall Art: Create a framed print or canvas that highlights a family photo or a meaningful quote.
- Home & Living: Items like custom pillows or blankets that can add a personal touch to her home.
Step 3: Gather Your Materials
Depending on the type of gift you've chosen, you'll need to gather the right materials. Here's a quick checklist:
- For clothing: Blank shirts, fabric paint, or iron-on transfers
- For kitchenware: Plain mugs or cutting boards, paint or engraving tools
- For wall art: High-quality prints, frames, or canvas
- For home decor: Fabric for pillows, stuffing, or sewing supplies
Now, let's dive deeper into each category to ensure you have everything you need for a successful project.
Clothing Materials
Creating personalized clothing items can be a fun and rewarding experience. Here's what you might need:
- Blank Shirts: Choose the right size and color that your mom would love. Consider her favorite colors or patterns.
- Fabric Paint: Look for fabric paints that are washable and non-toxic. You might also want to get paintbrushes of various sizes for detailed designs.
- Iron-On Transfers: These can feature quotes, images, or custom designs. Make sure to have transfer paper that works with your printer type (inkjet or laser).
- Stencils: If you're not confident in freehand painting, stencils can help you create neat designs.
Before you start, lay everything out and think about your design. Sketch it on paper first to visualize how it will look on the shirt.
Kitchenware Materials
Personalized kitchenware can be both practical and sentimental. Here's what you might need:
- Plain Mugs or Cutting Boards: Choose high-quality ceramics for mugs and sturdy wood or bamboo for cutting boards.
- Engraving Tools: If you're going for a more permanent design, consider a wood burner for cutting boards or glass engraver for mugs.
- Paint: Use ceramic paint for mugs that can withstand washing. Ensure it's food-safe if you're using it on kitchen items.
- Sealing Spray: If you use paint, a food-safe sealant can help protect your design from wear and tear.
Remember to consider the functionality of the item while designing. A personalized cutting board should still be easy to clean and use!
Wall Art Materials
Creating wall art is a fantastic way to capture memories. Here's what you'll need:
- High-Quality Prints: Use a good printer or professional printing service to ensure vibrant colors and sharp images.
- Frames: Choose frames that match your mom's decor style-whether it's rustic, modern, or classic.
- Canvas: If you prefer a more artistic touch, consider printing your design on canvas for a gallery-style look.
- Hanging Materials: Make sure you have the right tools for hanging, such as picture hooks, nails, or adhesive strips.
Before finalizing, consider how the artwork will fit into her space. Take measurements if necessary!
Home Decor Materials
Personalized home decor can add a unique touch to any room. Here's what you might need:
- Fabric for Pillows: Choose soft, washable fabric that matches her home's color scheme. Think about patterns that reflect her personality.
- Stuffing: Get pillow stuffing or inserts that are hypoallergenic for comfort.
- Sewing Supplies: Make sure you have needles, thread, and scissors. If you're not sewing, consider fabric glue as a quick alternative.
- Decorative Elements: Consider adding embellishments like buttons, lace, or appliques to enhance the design.
Plan out your design on paper before starting. It can help you visualize how the final product will look and ensure you have all necessary materials.
With all your materials gathered, you're now ready to move on to the next step of creating that unforgettable personalized gift for your mom. Remember, the more thought you put into your materials and design, the more special your gift will be!
Step 4: Create Your Design
Your design is where the magic happens. Here are some tips to help you create a beautiful design:
Use Design Software
There are many user-friendly design platforms available online, such as Canva or Adobe Spark. These tools can help you create visually appealing designs without needing advanced skills.
Keep It Simple
Sometimes, less is more. A simple design with a heartfelt message or an elegant pattern can be more impactful than a complex one. Think about what your mom would appreciate most.
Step 5: Execute Your Idea
Now that you have your design and materials, it's time to bring your idea to life. Follow these steps to ensure a polished final product:
Take Your Time
Rushing can lead to mistakes. Take your time with each step to ensure the quality of your work. Whether you're painting, sewing, or printing, patience is key.
Test Before Finalizing
If possible, do a test run with your design on a scrap piece of material. This can help you identify any issues before you commit to the final piece.
Step 6: Wrapping and Presentation
The presentation of your gift can enhance its appeal. Consider these wrapping tips:
Personalized Wrapping
Use wrapping paper that reflects her personality or theme. You could even use a large piece of fabric that she can later use, such as a scarf or tea towel. Here are some creative ideas to elevate your wrapping game:
- Custom Printed Paper: Consider designing wrapping paper with photos or quotes that are meaningful to her. There are many online services that allow you to upload your designs.
- Nature-Inspired Wrap: Use brown kraft paper and adorn it with fresh flowers, leaves, or twine for a rustic look. This not only looks beautiful but can also be a sustainable option.
- Reusable Containers: Instead of traditional wrapping, place your gift in a decorative box, basket, or even a cute tote bag that she can use later.
- Theme-Based Wrapping: If your gift is kitchenware, wrap it in a kitchen towel or apron. For a spa gift, consider using a bathrobe as the wrapping!
Remember, the way you wrap your gift can set the tone for the entire experience, so let your creativity shine!
Add a Personal Note
A heartfelt note expressing your feelings can make the gift even more special. Write down why you chose this gift and what she means to you. Here are some tips to craft the perfect note:
- Be Specific: Mention specific memories or qualities you love about her. Instead of a generic "I love you," try "Your strength and kindness inspire me every day."
- Use Quotes: If you know a quote that resonates with her or sums up your relationship, include it in your note. It adds a personal touch and can be very meaningful.
- Consider the Presentation: Write your note on beautiful stationery or a card that complements the gift. You could even create a mini scrapbook page if you want to go all out!
- Seal It with Love: Use a wax seal or a special sticker to close the envelope. This small detail can make your note feel even more special and personal.
Don't underestimate the power of your words; a sincere message can transform a simple gift into a treasured keepsake.
Creative Presentation Techniques
Once you've wrapped your gift and added a personal note, consider how you present it. Here are some techniques to make the unveiling even more exciting:
- Layered Surprises: If your gift allows it, create a series of smaller gifts inside a larger box. Each layer can have its own wrapping, leading to a delightful reveal.
- Gift Reveal Game: Turn the unwrapping into a fun game. You can wrap smaller gifts within the main gift, and she has to guess what each one is before opening it.
- Decorative Accents: Add embellishments to your wrapping, such as ribbons, bows, or handmade tags. These small details can enhance the visual appeal and show that you put in extra effort.
- Gift Presentation Basket: Instead of wrapping, consider creating a themed basket filled with smaller personalized gifts. This allows for a beautiful display and can be reused afterward.
Ultimately, how you wrap and present your gift can amplify the joy of receiving it, making the moment even more memorable. So take your time, get creative, and let your personality shine through!
Common Mistakes to Avoid
Here are some common pitfalls to steer clear of when creating personalized gifts:
- Ignoring her tastes: Always keep her preferences in mind. Remember, a gift that reflects her interests will be much more meaningful. For example, if she loves gardening, consider personalized garden tools or a custom plant pot.
- Rushing the process: Take your time to ensure quality. Personalization is all about the details, and hasty decisions can lead to a lack of thoughtfulness. Start early and give yourself plenty of time to brainstorm, design, and create.
- Forgetting to proofread: Double-check any text for spelling errors. A simple typo can turn a heartfelt gift into a source of embarrassment. Consider having a friend review your design or text to catch any mistakes you might miss.
Additional Common Mistakes
- Overcomplicating the design: While it's tempting to include every detail, simplicity can be more impactful. A clean and straightforward design often resonates better. For instance, a simple monogram can be more elegant than a cluttered collage.
- Choosing the wrong material: Make sure the materials you select match the occasion and her personality. For example, a sturdy canvas bag may suit a practical mom, while a delicate glass ornament may be perfect for someone who appreciates finer things.
- Neglecting the presentation: The way you present your gift can elevate the entire experience. Invest time in wrapping it beautifully or consider a creative way to deliver it, like a surprise reveal during a family gathering.
- Not considering the occasion: Personalize your gift to the specific occasion. A birthday gift might differ significantly from a Mother's Day gift in terms of tone and style. Tailor your choice to fit the moment.
- Ignoring size and scale: Ensure that the size of the gift is appropriate for the recipient. A large wall art piece might overwhelm a small space, while a tiny charm might be lost on a larger piece of jewelry. Always visualize how it will fit into her life.
Checklist for Avoiding Mistakes
To help you avoid these common pitfalls, here's a handy checklist:
- Research her interests and preferences thoroughly.
- Plan your timeline and start early to avoid rushing.
- Proofread all text and consider having someone else review it.
- Keep the design simple and elegant.
- Choose materials wisely based on her lifestyle.
- Think about how you will present and deliver the gift.
- Tailor the gift to the specific occasion.
- Ensure the size and scale are appropriate for her space.
By avoiding these common mistakes, you can create a personalized gift that truly resonates with her and showcases your thoughtfulness. Remember, it's the effort and intention behind the gift that will make it memorable!
Tools to Help You Create
There are several tools that can make the process easier:
- Graphic design software for creating designs
- Cutting machines like Cricut for precise cuts
- Engraving tools for adding a personal touch to wood or glass items
Graphic Design Software
Graphic design software is essential for crafting unique and personalized designs. Here are some popular options:
- Adobe Illustrator: A professional-grade tool that offers advanced features for creating vector graphics. It has a learning curve but provides powerful capabilities for custom designs.
- Canva: A user-friendly platform that offers templates and design elements suitable for beginners. It's great for creating simple designs quickly and easily.
- Inkscape: A free, open-source alternative to Illustrator that allows you to create vector graphics. It's perfect for those on a budget but still looking for robust design capabilities.
When using graphic design software, keep these tips in mind:
- Start with a clear idea or theme for your design.
- Utilize layers to separate different elements of your design, making it easier to edit.
- Experiment with colors and fonts that resonate with the recipient's personality.
Cricut and Cutting Machines
Cricut machines are fantastic for cutting intricate designs from various materials, including vinyl, cardstock, and fabric. Here's how to make the most of them:
- Choose the Right Machine: Depending on your needs, you might opt for the Cricut Maker, which can cut a wider variety of materials, or the Cricut Joy, which is more compact and user-friendly.
- Design Your Project: Use Cricut Design Space to upload your designs or choose from the library of pre-made designs. Make sure to size your design according to the item you are personalizing.
- Material Selection: Select the appropriate material for your project. For example, use heat transfer vinyl for clothing or adhesive vinyl for mugs and home decor.
Common mistakes to avoid:
- Not using a mat that's compatible with your material, which can lead to miscuts.
- Forgetting to mirror your design when using heat transfer vinyl, resulting in a backward image.
- Not adjusting the blade settings based on the material thickness, which can affect the cutting quality.
Engraving Tools
Engraving tools add a unique and personal touch to gifts, especially for items made of wood or glass. Here's how to effectively use engraving tools:
- Types of Engraving Tools: Consider using a rotary tool for detailed engravings or a laser engraver for precision and intricate designs.
- Design Preparation: Create or select a design that will fit well on the item you are engraving. Ensure the design is suitable for engraving, with clear lines and minimal detail.
- Practice on Scrap Material: Before engraving on the final product, practice on a similar piece of scrap material to get a feel for the tool and the depth of the engraving.
Tips for successful engraving:
- Ensure your item is securely held in place to avoid any movement during the engraving process.
- Adjust the speed and pressure of your tool according to the material to prevent burning or chipping.
- Clean the engraved area afterward to remove any debris and enhance visibility.
By utilizing these tools effectively, you can create beautiful, personalized gifts that moms will cherish for years to come. Whether you choose graphic design software, cutting machines, or engraving tools, each offers unique ways to express your creativity and love through thoughtful gifts.
Conclusion
Creating personalized gifts for moms is a rewarding way to show your love and appreciation. By following these steps, you can create distinctive gifts for mothers that reflect their personalities and the special bond you share. Now that you're equipped with these tips, it's time to start crafting that perfect gift that will make her smile!
Final Steps to Ensure Success
Before you dive into the crafting process, take a moment to ensure you have everything you need. Here's a quick checklist to guide you:
- Identify Mom's Interests: Make a list of her hobbies, favorite colors, and styles.
- Gather Materials: Collect all necessary supplies based on your chosen gift type (e.g., fabric, paints, photo prints).
- Plan Your Design: Sketch or outline your ideas to visualize the final product.
- Set a Timeline: Determine how much time you'll need to complete the gift and plan accordingly to avoid last-minute stress.
Common Mistakes to Avoid
Even the most seasoned crafters can make mistakes. Here are some common pitfalls to watch out for:
- Not Considering Practicality: While it's great to be creative, ensure the gift is something she will actually use or cherish.
- Forgetting to Personalize: Don't skip the personal touch! It's the essence of a personalized gift.
- Underestimating Time: Give yourself plenty of time to complete the project. Rushing can lead to mistakes.
- Ignoring Quality: Make sure to use quality materials. A well-made gift lasts longer and feels more special.
Examples of Personalized Gifts
If you're still brainstorming ideas, here are some specific examples of personalized gifts that can spark your creativity:
- Customized Jewelry: Engrave a bracelet or necklace with her initials or a meaningful date.
- Photo Album: Create a scrapbook filled with cherished memories and personal notes.
- Personalized Kitchenware: Design a cutting board or apron with her name or a favorite quote.
- Custom Wall Art: Make a canvas print featuring a family portrait or a meaningful quote.
- Embroidered Items: Personalize a blanket or pillow with a special message or her name.
Encouragement to Get Started
Remember, the best gifts come from the heart. Don't be afraid to let your creativity flow and make mistakes along the way. Each attempt is a step closer to mastering the art of personalized gifts. So grab your materials, put on your crafting hat, and start creating something that will make your mom feel loved and appreciated. She deserves it!


