
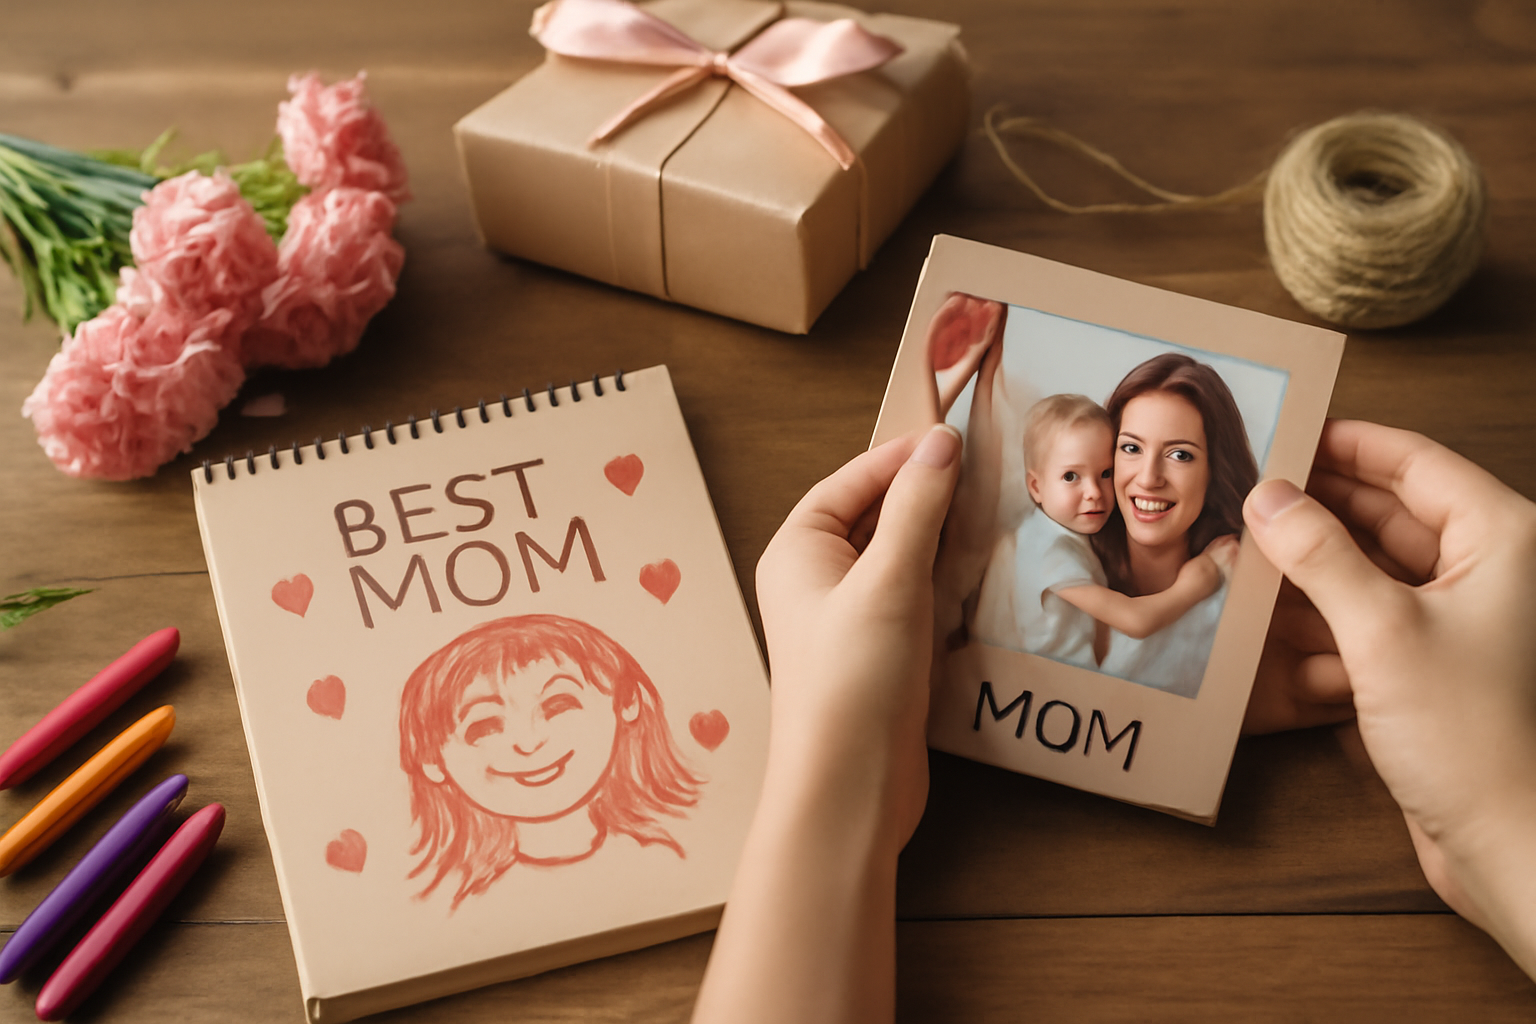
Mother's Day is the perfect occasion to show your appreciation for the special women in your life. A personalized gift can convey your love and thoughtfulness more than a generic present ever could. Whether it's a heartfelt message, a custom design, or a unique twist on a classic item, the right personalized gift can make a lasting impression. CucamongaInk gift collection.
This guide will walk you through the steps to create meaningful Mother's Day gifts that your mom will cherish forever. From choosing the right materials to adding personal touches, we'll cover everything you need to know to make this Mother's Day unforgettable.
Table of Contents
Step 1: Brainstorm Gift Ideas
Before diving into the creation process, take some time to brainstorm gift ideas that reflect your mom's personality and interests. Consider her hobbies, favorite colors, and any past gifts she has cherished. The more personal and thoughtful, the better! Creative Mother's Day Gift Ideas That Will Make Her Smile.
Common Ideas for Personalized Gifts
- Customized clothing (e.g., t-shirts, hoodies)
- Personalized kitchenware (e.g., engraved cutting boards, custom mugs)
- Photo gifts (e.g., framed pictures, custom wall art)
- Jewelry with engravings
- Handmade items (e.g., crafts, DIY projects)
Step 2: Choose Your Materials
Once you've settled on a gift idea, it's time to gather your materials. Your choice of materials will depend on the type of gift you're creating. Here are some common materials to consider:
- Fabric for clothing and accessories
- Wood for engraved items
- Ceramic for kitchenware
- Paper for cards and photo gifts
- Jewelry supplies for personalized pieces
To ensure your personalized Mother's Day gift is not only beautiful but also durable and practical, consider the following tips and suggestions when choosing your materials:
1. Fabric Selection
If you're crafting clothing or accessories, the fabric you choose is crucial. Here are some factors to consider:
- Type of Fabric: Cotton is great for casual wear, while silk or satin adds a touch of luxury. For bags or pouches, consider canvas or denim for durability.
- Color and Pattern: Choose colors that resonate with your mom's personality. Floral patterns can be lovely for spring, while solid colors offer a timeless appeal.
- Washability: Opt for fabrics that are easy to care for, especially if the gift is something she will use regularly.
2. Wood Choices
For engraved items, wood can add a rustic charm. Here's how to select the right type:
- Wood Type: Hardwoods like oak or maple are durable and hold engravings well. Softwoods like pine are lighter and can be easier to work with but may not last as long.
- Finish: Consider whether you want a natural finish or a painted look. Natural finishes can enhance the wood's grain, while paint can add a pop of color.
- Thickness: Choose a thickness that suits your design. Thicker pieces are more durable but may require more effort to engrave.
3. Ceramic Considerations
If you're making kitchenware, ceramics can be a fantastic choice. Here's what to keep in mind:
- Type of Ceramic: Stoneware is sturdy and great for everyday use, while porcelain can add an elegant touch for special occasions.
- Glaze Options: Consider whether you want a glossy or matte finish. Glossy glazes are easier to clean but can show fingerprints, while matte finishes can be more rustic.
- Food Safety: Ensure that any glazes used are food-safe if the item will be used for serving or cooking.
4. Paper Products
For cards and photo gifts, the type of paper can make a big difference:
- Paper Weight: Heavier cardstock is ideal for cards, while lighter paper works for photo prints.
- Texture: Consider textured papers for a more tactile experience. Linen or felt finishes can add a unique touch.
- Print Quality: If printing photos, ensure the paper is designed for photo printing to achieve vibrant colors and sharp details.
5. Jewelry Supplies
If you're making personalized jewelry, here's what to gather:
- Base Materials: Choose from metals like sterling silver, gold, or brass depending on your budget and desired look.
- Tools: Basic tools include pliers, wire cutters, and a soldering iron if you're working with metals.
- Embellishments: Consider beads, charms, or gemstones to add a personal touch. Choose items that reflect your mom's style and preferences.
Common Mistakes to Avoid
As you gather materials, be mindful of these common pitfalls:
- Not Testing Materials: Always test a small piece of your material before committing to the entire project. This is especially important for paints and adhesives.
- Overcomplicating Designs: Sometimes less is more. Choose materials that complement each other without overwhelming the design.
- Ignoring Functionality: Ensure that the materials you choose are not only aesthetically pleasing but also functional for the intended use.
By carefully selecting your materials with these considerations in mind, you'll be well on your way to creating a thoughtful and personalized Mother's Day gift that your mom will cherish for years to come.
Step 3: Design Your Gift
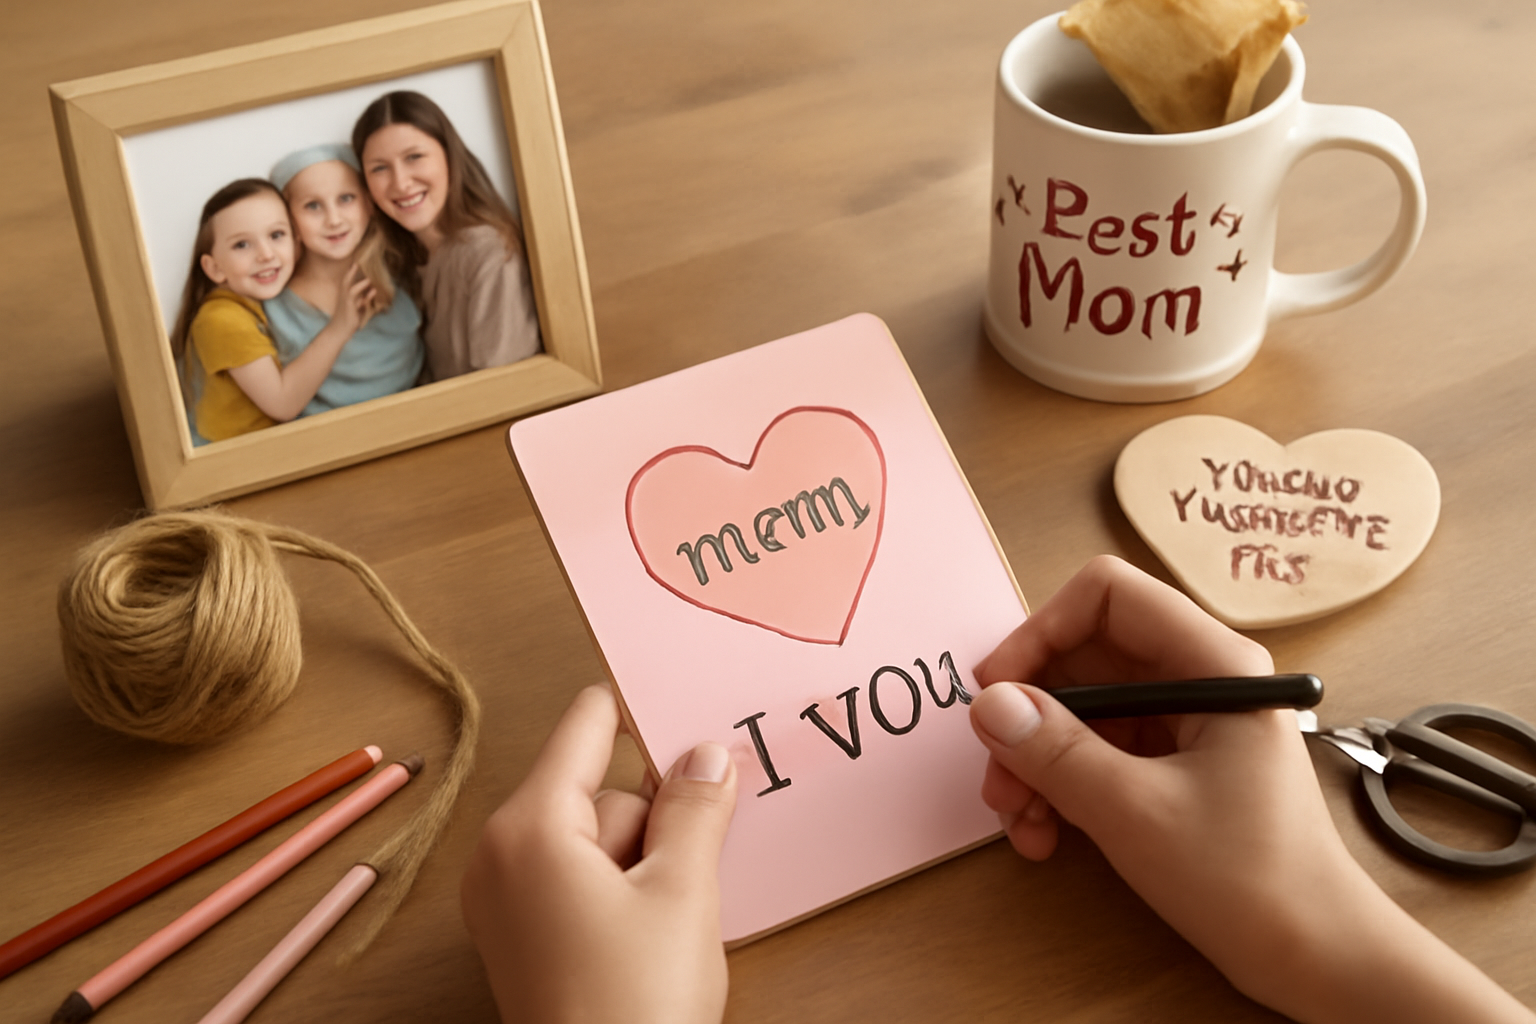
Now comes the fun part-designing your gift! Depending on your skills and the materials, you might want to sketch out your design or use a computer program to create a digital version. Here are some tips for effective design:
- Use colors and patterns that your mom loves.
- Incorporate meaningful messages or quotes.
- Consider adding personal touches like her name or initials.
- Make sure the design is practical for the item and easy to read if it includes text.
Step 4: Create the Gift
With your design in hand, it's time to bring your gift to life. The process will vary depending on the materials and tools you are using. Here are some general steps:
- For clothing: Use fabric paint or heat transfer vinyl to apply your design.
- For wood: Use a laser engraver or wood-burning tool for precise designs.
- For ceramics: Consider using a ceramic marker or paint for customization.
- For photo gifts: Print your photos and place them in a custom frame or canvas.
- For jewelry: Assemble the pieces and add engravings as needed.
Step 5: Presentation Matters
The way you present your gift can enhance its impact. A well-presented gift not only shows that you care but also adds an element of surprise and delight. Here are some creative presentation ideas to make your personalized Mother's Day gifts stand out:
- Use decorative wrapping paper that matches the theme of your gift. Look for papers with floral designs, pastel colors, or even custom prints that resonate with your mom's personality. For example, if she loves gardening, opt for wrapping paper featuring plants or flowers.
- Include a heartfelt handwritten note or card. This is your chance to express your feelings. Share a cherished memory, a funny inside joke, or simply tell her how much she means to you. Use colorful pens or even add doodles to make it visually appealing.
- Consider a themed gift basket with complementary items. Think of a relaxing spa day at home-include bath bombs, scented candles, and a personalized robe. Arrange these items in a wicker basket, and wrap it in cellophane for a polished look. Don't forget to tie it with a ribbon!
- Wrap it in a unique way, like using a scarf or a piece of fabric instead of conventional wrapping. This not only looks chic but also gives her an additional gift! Choose a scarf that matches her style or has a design that she loves. You can easily tie it into a knot or a bow to keep the gift secure.
Creative Wrapping Techniques
Here are some fun wrapping techniques that can add a personal touch:
- Gift Jars: Instead of a traditional box, consider placing smaller personalized items in a decorative jar. This works great for items like homemade cookies, bath salts, or even small trinkets. Decorate the jar with twine or lace for that extra flair.
- Origami Wrapping: If you're feeling crafty, try wrapping your gift using origami techniques. A simple origami box can be a delightful surprise. You can find tutorials online that guide you through the process, making it a fun project!
- Reusable Bags: Use a stylish reusable shopping bag as your gift wrap. This is not only eco-friendly but also practical. Choose a bag that reflects her style, and fill it with your personalized gifts. She'll appreciate the thoughtfulness of both the gift and the wrapping.
Common Mistakes to Avoid
Even the most well-intentioned gift presentations can fall flat if you make some common mistakes. Here's what to avoid:
- Overcomplicating the Wrap: While creativity is key, too many layers or overly complicated designs can detract from the gift itself. Keep it simple yet elegant.
- Forgetting the Card: A gift without a personal touch can feel impersonal. Always include a card, even if it's just a simple note.
- Ignoring the Theme: Make sure your wrapping complements the gift itself. Mismatched themes can confuse the recipient. For instance, a rustic gift should not be wrapped in bright, flashy paper.
Final Touches
After wrapping your gift, consider these final touches to elevate your presentation:
- Adding a Scent: Lightly spritz your wrapping with her favorite perfume or a pleasant scent. This adds a sensory element that can evoke fond memories.
- Personalized Tags: Instead of generic gift tags, consider making personalized tags with her name or a special message. This small detail can make a big difference.
- Decorative Elements: Use natural elements like dried flowers, leaves, or even a sprig of rosemary to enhance the aesthetic. These can be attached to the ribbon or placed on top of the gift.
Remember, the goal of presentation is to create excitement and anticipation. With these ideas, your personalized Mother's Day gifts will not only be meaningful but also beautifully presented, making your mom feel truly special!
Step 6: Avoid Common Mistakes
As you create your personalized gift, be mindful of some common pitfalls:
- Rushing the design process - take your time to ensure it's perfect.
- Forgetting to proofread any text before finalizing.
- Neglecting to consider the practicality of the gift for your mom's lifestyle.
- Not having all necessary materials on hand before starting.
1. Rushing the Design Process
We get it, you're excited to surprise your mom! However, hurrying through the design can lead to mistakes that ruin the final product. Take the time to brainstorm ideas, sketch out designs, and play around with different layouts. Here's how to avoid rushing:
- Set a timeline: Give yourself ample time to work on the gift. Start weeks in advance to avoid last-minute stress.
- Break it down: Divide the project into smaller tasks. For example, dedicate one day to selecting colors and materials, another to drafting the design, and so on.
- Take breaks: Step away from your work periodically. Fresh eyes can help you spot mistakes and improve your design.
2. Proofreading Text
Nothing says "I love you" quite like a heartfelt message-unless it's misspelled! Typos can distract from your thoughtful sentiment. To ensure your text is error-free:
- Read aloud: Hearing your words can help you catch mistakes that you might overlook when reading silently.
- Use tools: Utilize spell check tools or grammar apps to catch any errors.
- Get a second opinion: Ask a friend or family member to review your text. A fresh set of eyes can catch mistakes you might miss.
3. Considering Practicality
Your mom might love a decorative item, but if it doesn't fit into her lifestyle, it might end up collecting dust. Here are some tips to ensure your gift is practical:
- Think about her hobbies: Does she enjoy gardening? Consider a personalized garden sign. Is she a coffee lover? A custom mug might be perfect.
- Assess her space: If she lives in a small apartment, opt for gifts that don't take up too much room, like a personalized calendar or a compact photo book.
- Ask subtle questions: If you're unsure about what she needs, try to casually ask her about her preferences or any items she might be looking to replace.
4. Gathering Necessary Materials
Starting a project only to realize you're missing crucial materials can be frustrating. To avoid this, follow these steps:
- Make a checklist: Before you start, list all the materials you need, including any tools or supplies specific to your project.
- Shop early: Don't wait until the last minute to buy your supplies. This gives you time to find the best quality materials.
- Test your materials: If you're using new tools or products, do a quick test run to ensure they work as expected.
By avoiding these common mistakes, you'll ensure that your personalized Mother's Day gift is not only thoughtful but also well-executed. Remember, the key is in the details, so take your time and enjoy the creative process!
Step 7: Final Touches and Delivery
After creating your gift, take a moment to inspect it for quality. Make any final adjustments if needed. Finally, think about how you'll deliver it. Whether you plan to surprise her in person or ship it, ensure that it arrives in perfect condition.
Quality Inspection Checklist
- Check for Flaws: Look for any imperfections in the design or material. This includes checking for smudges, uneven printing, or any other defects that could detract from the gift's appeal.
- Functionality Test: If your gift is something that needs to work (like a personalized kitchen gadget), make sure it functions as intended. Test any mechanisms, buttons, or features.
- Personal Touches: Ensure that any personalized elements, like names or dates, are spelled correctly and placed accurately. Double-check the design layout to make sure everything looks just right.
- Packaging Considerations: Think about how the gift will be presented. A beautiful presentation can enhance the overall experience. Use quality wrapping paper or a stylish gift box that complements the gift.
Final Adjustments
If you notice any issues during your inspection, here are a few quick fixes:
- Touch-Up Paint: For wooden or ceramic gifts, a little touch-up paint can go a long way in covering minor imperfections.
- Reprint Designs: If a print is off or faded, consider reprinting it on high-quality paper or fabric to ensure it looks vibrant and fresh.
- Repackaging: If the original packaging is damaged, don't hesitate to repackage your gift in a new, sturdy box or bag to ensure it arrives safely.
Delivery Options
Deciding on how to deliver your personalized gift is just as important as creating it. Here are some options to consider:
- In-Person Delivery: If you're planning to surprise your mom in person, think about the setting. Choose a moment that feels special, like during a family gathering or a quiet moment at home. Consider adding a handwritten note to express your feelings.
- Shipping: If you can't be there in person, shipping is a great alternative. Here's how to ensure it arrives safely:
- Use a sturdy box that is slightly larger than the gift to allow for padding.
- Wrap the gift in bubble wrap or tissue paper to prevent movement inside the box.
- Consider using a tracking service to keep tabs on the package and ensure it arrives on time.
- Surprise Delivery: If you want to make it extra special, consider coordinating with a friend or family member to deliver the gift on your behalf. This adds an element of surprise and excitement.
Common Mistakes to Avoid
- Rushing the Final Touches: Take your time during the final inspection. Rushing can lead to overlooking important details that can affect the overall quality of the gift.
- Neglecting to Secure Packaging: Ensure that your gift is securely packaged to avoid damage during transit. A loose package can lead to disappointment when it arrives.
- Forgetting the Personal Note: A personalized note can add a heartfelt touch that enhances the gift. Don't skip this step!
By paying attention to these final touches and delivery options, you can ensure that your personalized Mother's Day gift not only looks fantastic but also arrives in perfect condition, ready to create lasting memories.
Conclusion
By following these steps, you can create special gifts for Mother's Day that truly reflect your appreciation and love. Remember, the most meaningful Mother's Day gifts come from the heart, and with a little effort and creativity, you can make this day unforgettable for your mom. Now, gather your materials and get started on crafting your masterpiece!
Final Thoughts on Personalized Gifts
Creating personalized gifts is not just about the end product; it's about the thought and effort you put into it. Here are a few final reminders to keep in mind:
- Know Your Mom: Think about her preferences and interests. Does she love gardening, cooking, or perhaps a particular hobby? Tailoring your gift to her passions will make it even more special.
- Quality Over Quantity: It's better to create one meaningful gift than several half-hearted ones. Focus on the details that will make her feel loved and appreciated.
- Incorporate Memories: Use photos or mementos that remind her of special moments you've shared. This adds a personal touch that can evoke nostalgia.
- Timing Matters: Start your project early to avoid last-minute stress. Rushing can lead to mistakes, so give yourself ample time to create something beautiful.
- Include a Personal Note: A heartfelt message can elevate any gift. Consider writing a letter or including a card that expresses your love and gratitude.
Common Mistakes to Avoid
While crafting your personalized gifts, be mindful of these common pitfalls:
- Ignoring the Instructions: If you're following a tutorial or template, make sure to read the instructions thoroughly before starting. Skipping steps can lead to disappointment.
- Overcomplicating Designs: Sometimes, less is more. Don't overcrowd your gift with too many elements. A clean, simple design often has a more powerful impact.
- Forgetting the Presentation: How you present your gift matters! Invest time in wrapping it beautifully or using a unique packaging method that reflects her style.
- Neglecting to Test Materials: If you're using new materials or techniques, do a test run. This can save you time and frustration when creating the final piece.
- Not Allowing Enough Drying Time: If your gift involves paint, glue, or other adhesives, ensure you allow sufficient drying time. Rushing this step can ruin your hard work.
Encouragement to Get Creative
Creating personalized gifts for Mother's Day is an opportunity to express your creativity and love. Don't be afraid to think outside the box! Here are a few ideas to inspire you:
- Customized Recipe Book: Compile her favorite recipes, add personal notes, and even include photos of family gatherings centered around those meals.
- Memory Jar: Fill a jar with notes that share your favorite memories or reasons you love her. She can read one each day or whenever she needs a pick-me-up.
- Personalized Calendar: Create a calendar with family photos and important dates highlighted, such as birthdays and anniversaries.
- Custom Playlist: Curate a playlist of songs that remind you of her or that you've enjoyed together. Pair it with a cute note explaining your choices.
So, gather your materials, unleash your creativity, and get started on crafting your masterpiece! Your mom will cherish the thought and effort you put into her special gift, making this Mother's Day one to remember.


