
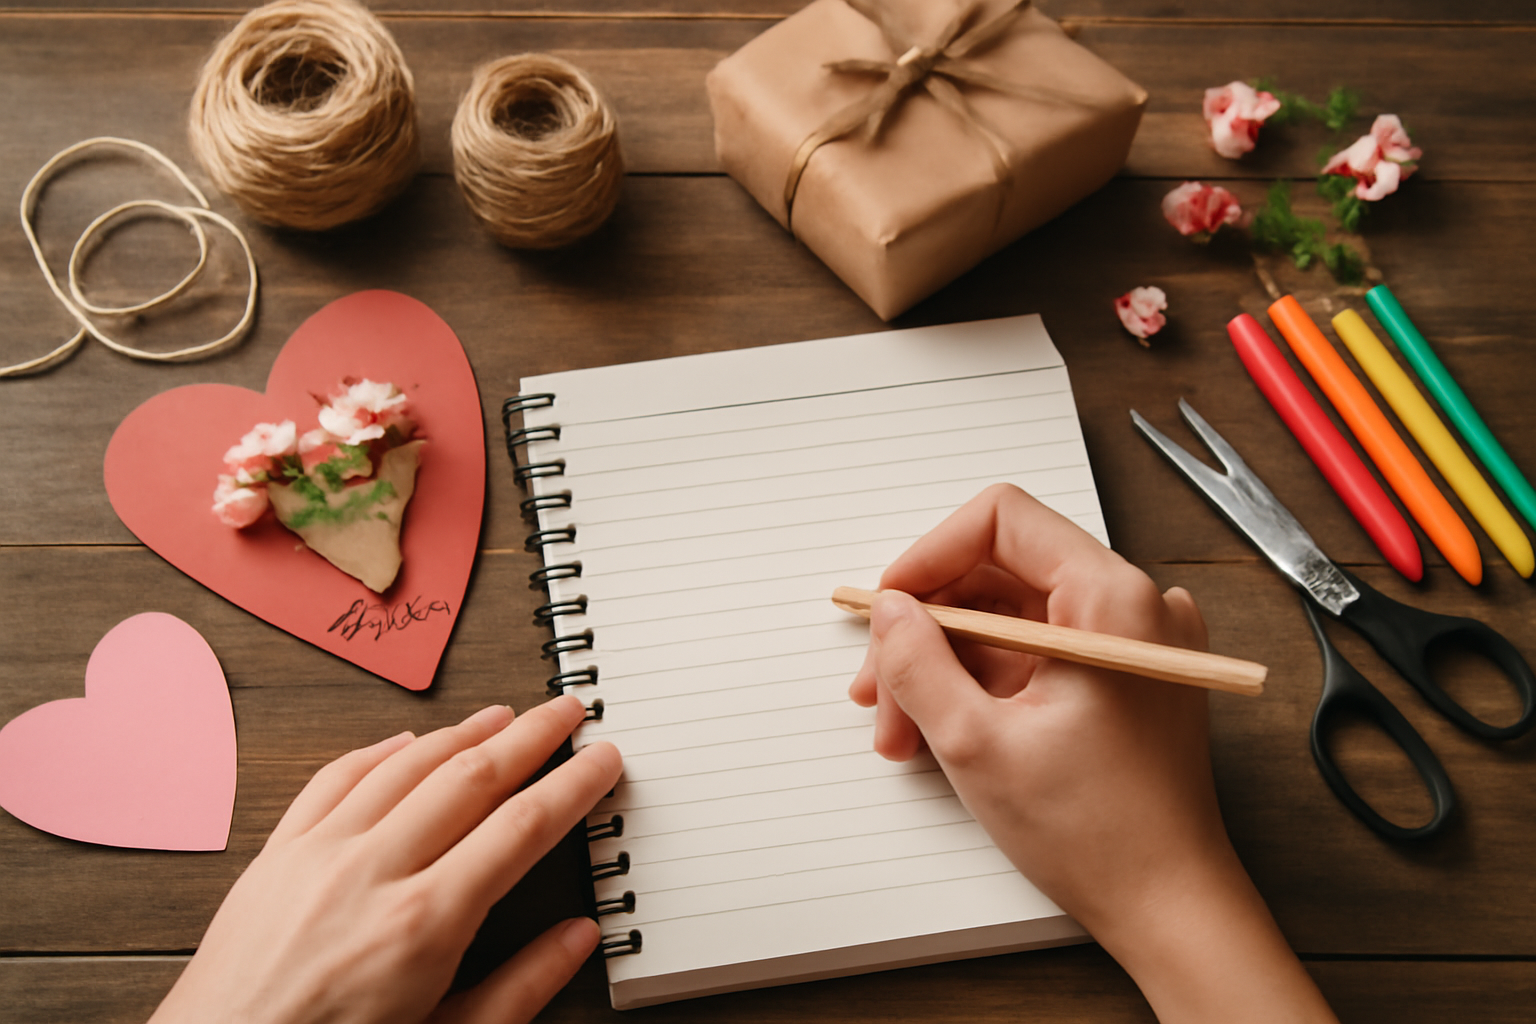
Mother's Day is the perfect occasion to show your appreciation for the incredible women in your life. While store-bought gifts are lovely, nothing beats the personal touch of a homemade gift. Whether you're a crafty expert or just starting out, creating a unique gift can be both fun and meaningful.
This guide will walk you through various ideas and steps to craft heartfelt gifts that Mom will cherish for years to come. From simple DIY crafts to personalized keepsakes, there's something for everyone!
Table of Contents
Step 1: Choose Your Gift Idea
Before diving into the crafting process, take a moment to brainstorm gift ideas. Here are a few suggestions to get your creative juices flowing: Creative Mother's Day Gift Ideas That Will Make Her Smile.
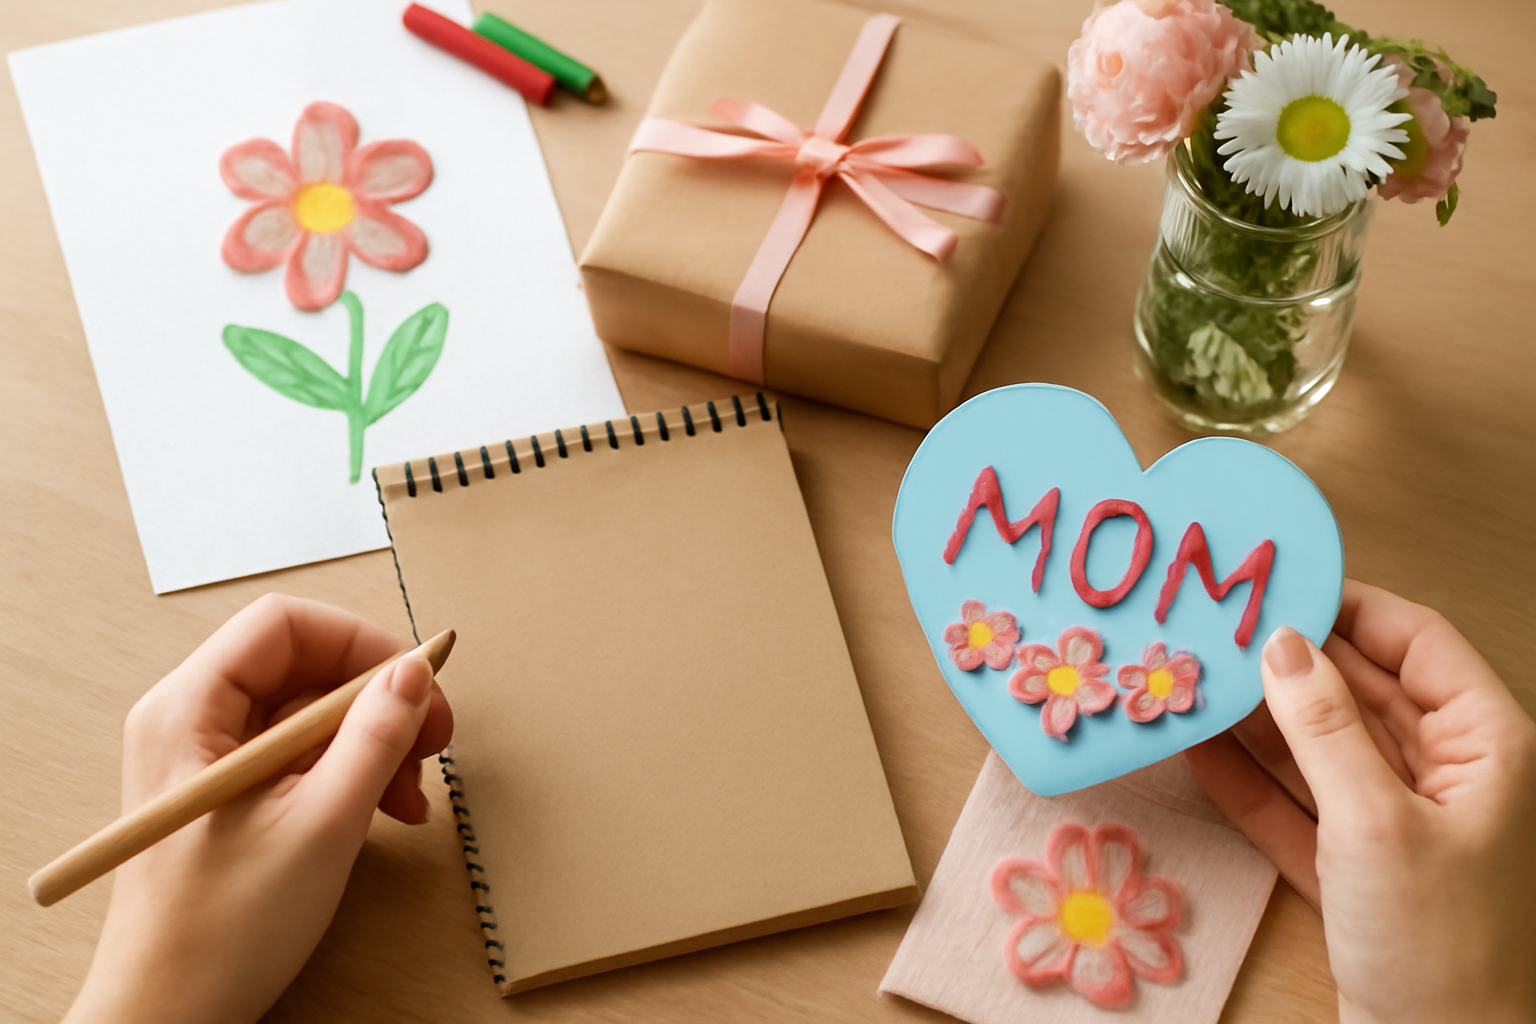
- Homemade cards: A heartfelt card can mean the world. Consider adding a personal touch by including a handwritten message or a poem. Use decorative paper, stickers, or even pressed flowers to enhance the card's visual appeal.
- Handmade jewelry: Create a piece that reflects her style. Think about beading, wire wrapping, or even simple stringing techniques. You can make a bracelet with her favorite colors or a necklace with charms that represent her interests. Remember to include a note explaining the significance of each element.
- Personalized photo album: Compile family memories into a beautiful book. Gather photos that evoke special moments and arrange them chronologically or thematically. You can also add captions or little anecdotes next to each picture to make it even more personal. Consider using decorative paper, washi tape, or stickers to embellish the pages.
- Customized kitchenware: Think about a "Grandchildren names platter" that showcases her favorite people. You could use ceramic paint to add names and designs to plates, mugs, or bowls. Make sure to follow the instructions for curing the paint to ensure it's dishwasher safe. Alternatively, you could create a recipe book filled with family favorites, adding personal notes about each dish.
- Decorative wall art: A piece that celebrates family or nature, like "Personalized Nanna's Garden." You can create a canvas painting or a framed print featuring family names, important dates, or even a family tree. Use stencils for neat lettering or try your hand at calligraphy for a more elegant touch.
Once you have a few ideas, consider the following steps to refine your choice: CucamongaInk gift collection.
- Consider her interests: Think about what your mother loves. Is she a gardening enthusiast? A cooking aficionado? Tailoring your gift to her passions will make it even more special.
- Assess your skills: Be realistic about what you can create. If you're not great at painting but love cooking, perhaps a homemade recipe book is the way to go.
- Plan your budget: Determine how much you're willing to spend. Some projects can be done on a tight budget, while others might require a bit more investment in materials.
- Gather inspiration: Browse Pinterest or craft blogs for additional ideas. Sometimes, seeing what others have created can spark your own creativity.
Finally, jot down your top three ideas and evaluate them based on the above criteria. Once you've settled on the perfect gift idea, you're ready to move on to the next step in your homemade Mother's Day gift-making journey!
Step 2: Gather Your Materials
Once you've settled on a gift idea, make a list of materials you'll need. Here's a checklist to help you get organized:
- Crafting supplies (paper, glue, scissors, etc.)
- Personalization tools (markers, stamps, etc.)
- Photos or printed images for albums or decor
- Items for kitchenware gifts (plain platters, mugs, etc.)
- Decorative elements (ribbons, stickers, etc.)
To ensure that your homemade Mother's Day gift turns out beautifully, consider the following steps to gather your materials effectively:
1. Identify Specific Supplies
Instead of just listing generic crafting supplies, think about the specific items you'll need based on your chosen project. For example:
- If you're making a scrapbook, consider specialty papers, embellishments, and adhesives designed for scrapbook projects.
- For a personalized mug, you'll need ceramic paint or markers that are safe for dishware.
- When creating a photo frame, think about the type of frame (wood, plastic, etc.) and the size that will best display your photo.
2. Check Your Inventory
Before rushing to the store, check your home for materials you might already have. You'd be surprised how many crafting supplies are lying around! Look in:
- Craft drawers or boxes
- Old greeting cards or magazines for cut-outs
- Kitchen cabinets for plain kitchenware items
This not only saves you money but also encourages creativity by using what you have on hand.
3. Create a Shopping List
Once you've identified the specific supplies needed and checked your inventory, create a detailed shopping list. Organize it by store sections to make your shopping trip more efficient. For instance:
- Craft Store: Craft paper, glue, embellishments
- Office Supply Store: Markers, stamps, scissors
- Kitchenware Store: Plain mugs, platters, or other kitchen items
4. Consider Quality Over Quantity
When gathering materials, it can be tempting to go for the cheapest option available. However, especially for personalized gifts, consider investing in higher-quality materials that will enhance the final product. For example:
- Choose acid-free paper for scrapbooking to prevent deterioration over time.
- Opt for food-safe paint for kitchenware to ensure safety.
5. Think About the Presentation
Don't forget about how you'll present your gift! Gather materials for wrapping or presentation, such as:
- Gift bags or boxes
- Wrapping paper or fabric
- Decorative ribbons or twine
Presentation can elevate your homemade gift, making it feel even more special.
6. Common Mistakes to Avoid
As you gather your materials, be mindful of these common pitfalls:
- Overlooking essential tools: Forgetting items like scissors or glue can halt your crafting process.
- Buying too much: Stick to your list to avoid impulse purchases that may not be needed.
- Ignoring safety: Ensure that any materials used are safe for their intended purpose, especially in kitchenware items.
By following these steps, you'll be well-prepared with all the materials needed to create a heartfelt and personalized Mother's Day gift that your mom will cherish forever. Happy crafting!
Step 3: Create Your Gift
Now comes the fun part-actually making your gift! Follow these general steps:
For a Handmade Card:
- Cut a piece of cardstock to your desired size.
- Decorate the front with drawings, stickers, or a cute photo.
- Write a heartfelt message inside.
For a Customized Platter:
- Purchase a plain ceramic platter.
- Use ceramic markers to write names or a special message.
- Follow the marker instructions for setting the design (usually involves baking).
For a Photo Album:
- Select and print your favorite family photos.
- Arrange them in a scrapbook or photo album.
- Add captions or decorative elements for a personal touch.
Step 4: Add the Finishing Touches
Enhance your gift with some thoughtful details to make it truly special and memorable. The finishing touches can elevate your homemade Mother's Day gift from simple to stunning and show your mom just how much you care.
- Wrap it beautifully using colorful paper or a gift bag. Choose wrapping that reflects your mom's personality or favorite colors. You can even use fabric or reusable materials like a scarf or tea towel for a unique twist.
- Include a small note explaining the significance of the gift. This is a great opportunity to express your feelings. Consider writing a heartfelt message or a poem that highlights a cherished memory or a personal quality you admire in her. Handwriting the note adds a personal touch that printed text simply cannot match.
- Consider adding a small bouquet of flowers or a handmade card for extra charm. Fresh flowers can brighten anyone's day, and a handmade card allows you to further express your creativity. If you're not great at drawing, don't worry! Simple designs or even a collage of family photos can work wonders.
Additional Touches to Consider
Here are a few more ideas to consider that can add a personal flair to your gift:
- Personalized Tags: Create custom tags that include your mom's name or a special message. You can use decorative paper, string, or even washi tape to make them stand out.
- Gift Baskets: If your gift is a collection of items, consider arranging them in a cute basket. You can line the basket with a nice cloth or shredded paper for an added touch.
- DIY Gift Wrapping: Get crafty by decorating plain wrapping paper with stamps, stickers, or drawings. This allows you to put your own artistic spin on the presentation.
- Memory Jar: Along with your gift, include a small jar filled with notes of appreciation or memories you've shared. This can be a delightful surprise that your mom can revisit whenever she wants a little pick-me-up.
Avoiding Common Mistakes
While adding finishing touches, keep these common pitfalls in mind to ensure your gift is well-received:
- Overdoing It: While it's great to add personal touches, avoid cluttering the gift with too many items. Keep it simple and thoughtful.
- Neglecting Presentation: A beautifully wrapped gift can make a significant impact. Don't just toss it in a bag-take the time to wrap it nicely.
- Forgetting the Note: A gift without a personal message can feel impersonal. Always include a note to convey your feelings.
- Last-Minute Wrapping: Avoid the temptation to rush through the wrapping process. Take your time to make it look nice, as this reflects the effort you put into the gift.
By focusing on these finishing touches, you not only enhance the aesthetic appeal of your gift but also show your mom that you put thought and care into every aspect of her special day. Remember, it's the little details that often leave the biggest impact!
Common Mistakes to Avoid
While crafting, it's easy to overlook some details. Here are a few common pitfalls to avoid:
- Rushing the Process: Take your time to ensure quality work. Crafting is an art, and like any good artist, you need to find your rhythm. Set aside dedicated time for your project, and avoid multitasking. If you're feeling rushed, it's better to postpone your crafting session than to compromise on quality. Consider breaking your project into manageable steps and setting small deadlines for each phase.
-
Forgetting Personalization: The magic is in the details, so don't skip personal touches. Personalization can be as simple as adding a name, a special date, or a heartfelt message. Think about what makes your recipient unique and try to incorporate that into your gift. For instance, if you know your mom loves gardening, consider adding a small tag with her favorite flower or a quote about nature. A checklist for personalization might include:
- Names or initials
- Favorite colors or themes
- Special dates or memories
- Hobbies and interests
-
Choosing the Wrong Materials: Ensure all supplies are suitable for the type of project. Not all materials are created equal, and using the wrong ones can lead to disappointing results. For example, if you're making a kitchen item, ensure the materials are food-safe and durable. Always check the labels and product descriptions before purchasing. Here's a quick checklist to help you choose the right materials:
- Research the best materials for your project type (e.g., fabric for clothing, wood for home decor)
- Consider the durability and safety of materials, especially for gifts intended for children or food use
- Test materials when possible (e.g., paint on a scrap piece before applying to your project)
- Keep an eye out for sales or bulk options to save money without sacrificing quality
- Ignoring Instructions: If you're following a tutorial, make sure to read through all the instructions before starting. Skimming can lead to missing crucial steps or misinterpreting techniques. Take notes as you go along, and feel free to adapt instructions to better fit your style, but do so with caution. If you're unsure about a step, look for additional resources or videos that can provide clarity.
- Overcomplicating Designs: Sometimes, less is more. While it's tempting to add every idea you have to your project, this can lead to a cluttered and confusing end result. Stick to a cohesive theme and color palette. Create a simple sketch of your design beforehand to visualize how everything will come together. If you find yourself overwhelmed, consider simplifying your design or focusing on one standout feature.
- Neglecting the Final Touches: The finishing touches can make or break your homemade gift. Don't forget to clean up any mess, trim excess threads, or ensure everything is securely attached. Presentation also matters; consider how you'll package your gift. A well-wrapped gift can elevate even the simplest of creations. Think about using personalized wrapping paper or a decorative box that complements your gift.
Step 5: Presenting Your Gift
The way you present your gift is just as important as the gift itself. A thoughtful presentation can enhance the emotional impact of your homemade Mother's Day gift. Here are some ideas to make your gift-giving moment special:
- Host a small family gathering to present the gift. This creates a festive atmosphere and allows everyone to share in the joy. Consider preparing a meal or baking her favorite dessert to pair with the gift presentation.
- Surprise her by leaving the gift somewhere she'll find it, like her favorite chair. You could also hide it in a place that holds sentimental value, such as the kitchen where you spent time together or the garden where she loves to relax.
- Take a moment to express your feelings verbally when giving the gift. Share a heartfelt message about why you created the gift and what she means to you. This personal touch can make the moment unforgettable.
Creative Presentation Ideas
Here are some creative ways to present your homemade gift that will make it even more memorable:
- Gift Wrapping: Use unique wrapping materials that reflect her personality. For example, if she loves gardening, consider wrapping the gift in burlap or using floral-patterned paper. Add a personal touch with a handwritten note or a small flower.
- Gift Basket: Create a themed gift basket that includes your homemade item along with other small items she loves. For example, if you made a custom mug, include her favorite tea or coffee, some cookies, and a cozy blanket for a complete experience.
- Scavenger Hunt: Organize a fun scavenger hunt leading her to the gift. Create clues that relate to your shared memories or her interests. This adds an element of surprise and excitement to the gift-giving experience.
Common Mistakes to Avoid
While presenting your gift, it's important to avoid a few common pitfalls that can detract from the moment:
- Rushing the Presentation: Take your time to build up the moment. A rushed presentation can make the gift feel less special. Allow her to savor the experience.
- Neglecting the Setting: Consider the environment where you present the gift. A cluttered or distracting space can take away from the emotional impact. Choose a calm and inviting setting, perhaps outdoors or in a cozy room.
- Forgetting to Capture the Moment: Don't forget to take photos or videos during the gift presentation. These moments can be cherished and shared later, making the experience even more memorable.
Final Touches
To wrap up the presentation, consider adding some final touches that can elevate the experience:
- Personalized Card: Include a card that expresses your love and appreciation for her. Share a favorite memory or a quote that resonates with your relationship.
- Flowers or a Small Plant: Pair your gift with a bouquet of her favorite flowers or a small potted plant. This adds a vibrant touch and symbolizes growth and love.
- Follow-Up: After presenting the gift, follow up with a heartfelt conversation about it. Ask her how she feels about the gift and share your thoughts on creating it. This can lead to deeper connections and cherished memories.
Conclusion: Make This Mother's Day Special
Creating homemade gifts for Mother's Day can be a rewarding experience. Not only do you get to express your creativity, but you also show your love and appreciation in a unique way. So gather your materials, get crafty, and make some "special gifts for Mother's Day" that she will cherish forever. If you're looking for "meaningful Mother's Day gifts," consider exploring the CucamongaInk gift collection for additional inspiration!
Steps to Make Your Mother's Day Gift Extra Special
To ensure your homemade gift stands out, follow these simple steps:
- Plan Ahead: Decide on the type of gift you want to create. Whether it's a handmade card, a custom piece of art, or a personalized kitchen item, having a clear vision will guide your crafting process.
- Gather Materials: Collect all the necessary supplies before you start. This could include paper, paints, fabric, or any other materials specific to your chosen project. Make sure to have everything on hand to avoid last-minute store trips.
- Set Up Your Workspace: Choose a comfortable and well-lit area to work. Lay out your materials and tools to keep everything organized. A clutter-free space can enhance your creativity.
- Follow Instructions: If you're using a tutorial or a guide, make sure to read through it entirely before beginning. This will help you understand the steps involved and prevent any mistakes along the way.
- Personalize: Add personal touches that reflect your mom's personality. This could be her favorite colors, quotes, or even inside jokes. Personalization is what makes the gift truly special.
- Wrap It Up: Presentation matters! Take the time to wrap your gift beautifully. Use colorful paper, ribbons, or even a handmade gift bag to enhance the overall experience.
Examples of Homemade Mother's Day Gifts
Here are a few examples of thoughtful homemade gifts that can inspire your creativity:
- Customized Photo Album: Collect memorable photos and create a scrapbook that tells your family's story. Add captions and decorations to make it unique.
- Handmade Jewelry: Craft a bracelet or necklace using beads that represent special moments or memories you share. This can be a beautiful and sentimental gift.
- Personalized Recipe Book: Compile family recipes into a beautifully designed book. Include notes and stories about each dish to make it even more special.
- DIY Candle: Create a scented candle using essential oils that your mom loves. Customize the container with her name or a sweet message.
- Decorative Plant Pot: Paint or decorate a flower pot and plant her favorite flowers or herbs inside. This gift adds a touch of nature to her home.
Common Mistakes to Avoid
While crafting your homemade gift, keep these common pitfalls in mind to ensure your gift is a success:
- Procrastination: Waiting until the last minute can lead to rushed work and mistakes. Start early to give yourself enough time to create something special.
- Overcomplicating Projects: Choose a project that matches your skill level. If you're a beginner, don't attempt something overly complex that might lead to frustration.
- Neglecting Quality: Ensure that the materials you use are of good quality. A well-made gift reflects the effort you put into it and shows your mom how much you care.
- Forgetting the Personal Touch: Always include a personal element. A generic gift can feel less meaningful, so make sure to add that special touch that only you can provide.
By following these steps, examples, and avoiding common mistakes, you can create a homemade Mother's Day gift that is not only heartfelt but also cherished for years to come. Remember, it's the thought and effort behind the gift that truly counts! Happy crafting!


